
sooo….yeah. i started this blog almost TWO whole years ago with nary a post to be seen. life has a way of getting, well….in the way. but i’ve found myself with more time on my hands (hooray, between jobs!) and want to actually start working on the blog and baking again.
holidays are always the perfect reason for me to get into the kitchen. we just finished passover, which happens to be my most favorite holiday of them all. i don’t know if it’s my childhood memories of going to my safta’s house for the seder, all the songs, or just the story of jewish resilience that is always so inspiring in the spring.
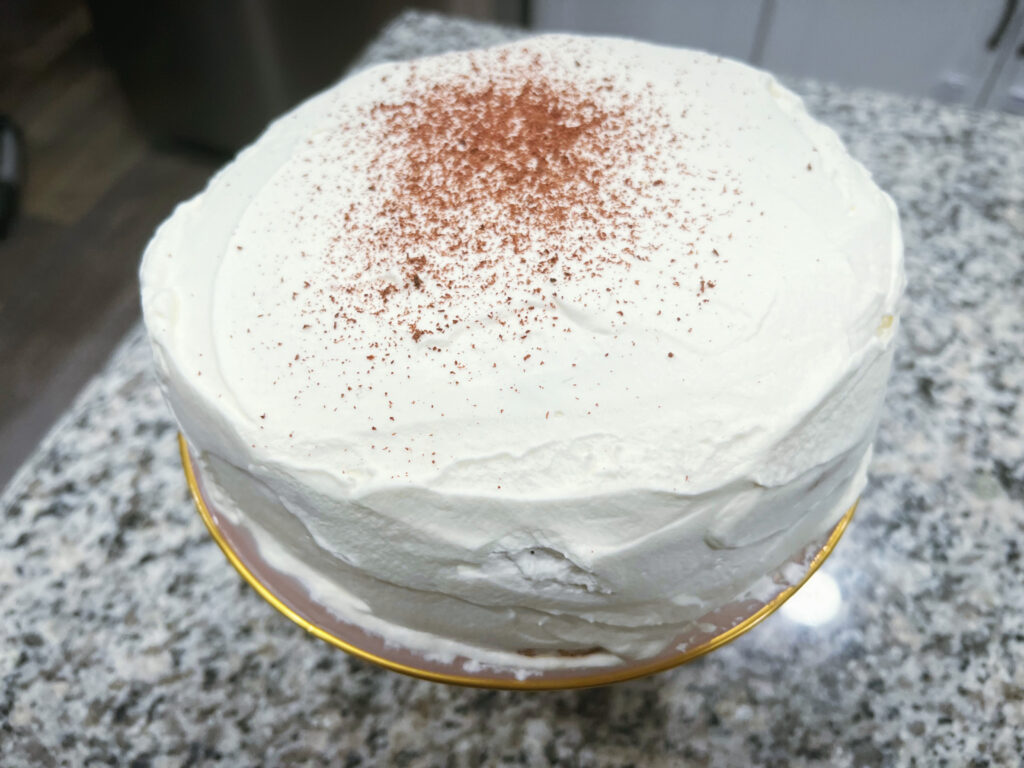
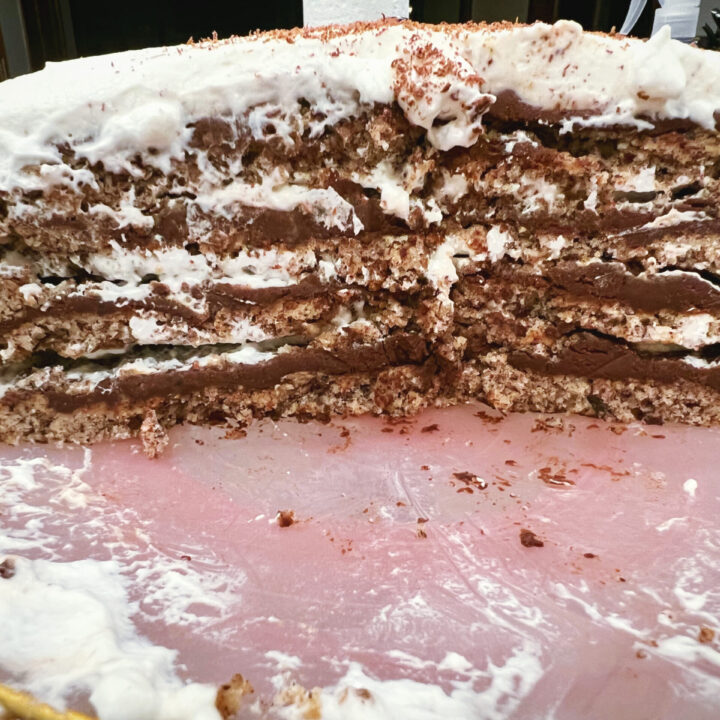
either way, we had a small seder at my parents’ house this year. somehow, my mom and i both bungled the actual meal – most things were too salty and spicy. the dessert i made, however, was the absolute star of the show. i wanted to do something different than my usual flourless chocolate torte with whipped cream, and let me just say this may be one of my most favorite things i’ve ever made. i mostly followed this recipe from deb at smitten kitchen, but used chocolate ganache rather than her filling. it tasted like a dream, even though my layers weren’t the prettiest things ever (one even got dropped and broke, but once the whipped cream was on i think it looked great!). the finished result is nutty, chocolatey, but not too sweet – and was the perfect thing for me to start baking again.
hazelnut chocolate dacquoise
a flourless hazelnut torte with a smooth chocolate ganache filling, finished with lightly sweetened whipped cream. adapted from smitten kitchen.
Ingredients
dacquoise layers
- 200g granulated sugar
- 6 large egg whites
- 340g hazelnut flour
- 1/4 tsp table salt
- 1 tsp vanilla extract
- 25g granulated sugar
chocolate ganache
- 170g bittersweet chocolate, chopped (or chunks)
- 1 tsp instant coffee
- 6 fl. oz heavy cream
whipped cream
- 1.5 cups heavy cream, chilled
- 2 tbsp granulated sugar
- 1 tablespoon vanilla extract
Instructions
dacquoise layers
- preheat oven to 325ºF.
- trace four 8in circles onto parchment paper, turning over to avoid getting ink on your layers.
- lay parchment on two lightly oiled baking sheets - lightly oil the parchment as well.
- pulse hazelnuts, 200g sugar, and salt in a food processor until combined.
- in the clean bowl of a stand mixer, whisk egg whites to soft peaks.
- slowly add vanilla extract and remaining 25g of sugar.
- whisk until stiff, glossy peaks form.
- fold nut mixture into egg whites, 1/3 at a time, taking care not to knock too much air from the whites.
- fill a piping bag with dacquoise mix.
- using your traced circles, pipe the mixture on baking sheets. if needed, smooth the mixture with an offset spatula.
- bake layers until golden brown and dry - i started with 20 minutes and checked every 5 minutes after that.
chocolate ganache
- place chocolate in a small bowl
- heat heavy cream just to a simmer - once small bubbles form around the edge of the pan and wisps of steam begin to rise, take it off the heat!
- pour cream over chocolate and let sit 2-3 minutes.
- using a whisk or spatula, stir chocolate and cream until fully combined and smooth.
- spread ganache evenly over dacquoise layers. layers can now be set in the fridge or freezer until the ganache is set.
whipped cream
- in a clean, chilled bowl, whisk heavy cream with sugar and vanilla using the whisk attachment until stiff peaks form.
assembly
- gently peel each dacquoise layer from the parchment.
- place the first layer onto a cake board or serving dish.
- spread an even layer of whipped cream on your layer.
- stack with the remaining layers, repeating between each one.
- using half of the remaining whipped cream, frost the sides and top of the torte as smoothly as possible.
- place the torte in the freezer for 5-10 minutes to firm up the crumb coat (keep remaining whipped cream in the fridge for this time).
- frost the final layer of whipped cream.
- finish with chocolate shavings (cocoa powder would also look nice here!)
Notes
this kept in the fridge, lightly covered with foil, for two days after our seder. over time, it gets slightly softer and chewier and honestly better than the first night!
No Comments